

This is a special food storage basics day and I'm sharing something really awesome! Well, when am I not sharing something awesome?! Today I taught a class on home preserving meat and the safety needed to make sure that the processing is done correctly. In my post Home Canning Safety 101, I covered some basics on safety. Many people process their own meat for longer-term shelf life. It is recommended that home-canned meat be used withing a year of being processed. As I'm liable, I'm not going to ever suggest that it could be safe for very much longer than that. Sorry folks. The only meats I suggest for really long shelf life (10-15 years) are Freeze Dried Meats. The moister content is the key. If food is stored in liquid, there's always going to be a possibility for bacteria growth. The most deadly canning concerns happen with low acid foods, and those botulism spores can only be killed at the higher temperatures that a pressure canners produces. Boiling water canners top out at 212 degrees (botulism needs to be heated to 240 degrees to be killed). I am often asked how to do this and how to do it in such a way that it doesn't cause food-borne illness. Today I'm sharing the basics on pressure canning! This is method of canning used for "low acid" foods like meat, vegetables and some fruit (depending on it's acid levels). In my class I also covered the safety of home meat jerky production. That will be a later post.
Some reasons for processing your own meat and vegetables:
- Save money and buy when meat or vegetables are on sale
- Convenient cooked meals on hand for easy use
- Processing game and wild animal meat (or home raised animals)
- Preserving vegetables for use from the garden or local farmer's markets
- Preparing for any emergency
Pressure canning is done in a large pressure cooker that is specifically designed for home canning. It is not okay to use a regular pressure cooker for home canning! It is however, okay to use a pressure canner for large batching of pressure cooked foods. Please make sure if you are home canning meat that you have a home canner that has been approved for home canning safely. Also, I'm a food safety freak. I will always give you the best possible safety information for your family that I have! I've seen some pretty interesting posts on home canning that include things like canning butter and storing meats for years and years in home canned jars. If you are doing this, please read the post on why I don't ever home can butter!

General Meat Canning Information
Courtesy of the University of Minnesota Extension office
Meat, poultry and fish are low acid foods. They must be processed in a pressure canner to assure safety. Use the processing time and pressure (PSI) that is specified for each type of game.
Following are some general guidelines for canning meat or poultry:
1 Can only good quality meat, poultry ,or game.
2. Chill home produced meat at 40°F or below soon after slaughter to prevent spoilage.
3. Keep all meat clean and sanitary. Rinse poultry thoroughly in cold water, then drain.
4. If meat must be held for longer than a few days, freeze it for maximum quality retention, store frozen meat at 0oF or lower until canning time.
5 Thaw frozen meat in a refrigerator at 40°F or lower until most of the ice crystals have
disappeared. This may take several days for large cuts of meat.
6. Trim gristle, bruised spots, and fat off meat before canning. Excessive fat left on the meat will melt and rise to the top during processing. If the fat comes in contact with the sealing edge of the lid, the jar may not seal.
Note: Individuals using a weighted-gauge canner at altitudes less than 1000 feet may use 10 PSI instead of 15 PSI for the canner pressure. This will improve nutrient and quality retention. Check with your local county extension office or Soil Conservation District for altitude information. For more information about food safety, call USDA's Meat and Poultry Hotline at 1-800-535-4555
This is my personal post on how to pressure can beef stew. We don't pressure can meat often here, since Ace is a vegetarian. However, beans and vegetables are low acid as well, so we still have to do some now and then. Plus...I like meat.
I have two different pressure canners. One is a Presto Pressure Canner and one is the All American Pressure Canner (Thank you mom and dad for the early birthday present!).

Prepare the stew according to Ball's Beef Stew Recipe directions:
2.) BROWN meat in oil in a large saucepot. Add vegetables and seasonings to browned meat. Cover with boiling water. Bring stew to a boil. Remove from heat.


The Presto canner has a weight like this.


I love having the pressure gauge, as I can actually see what the psi is within my cooker!

Cook the full amount of time that the recipe specifies for your specific meat or vegetable. Only start the timer when the pressure canner is up to temperature and pressure. When time is over, turn off the heat and allow the pressure cooker to decompress naturally. Do not run under water or remove the weight until the gauge reads "0" and the weight doesn't hiss when touched. This is a sure sign that it needs more time to cool.
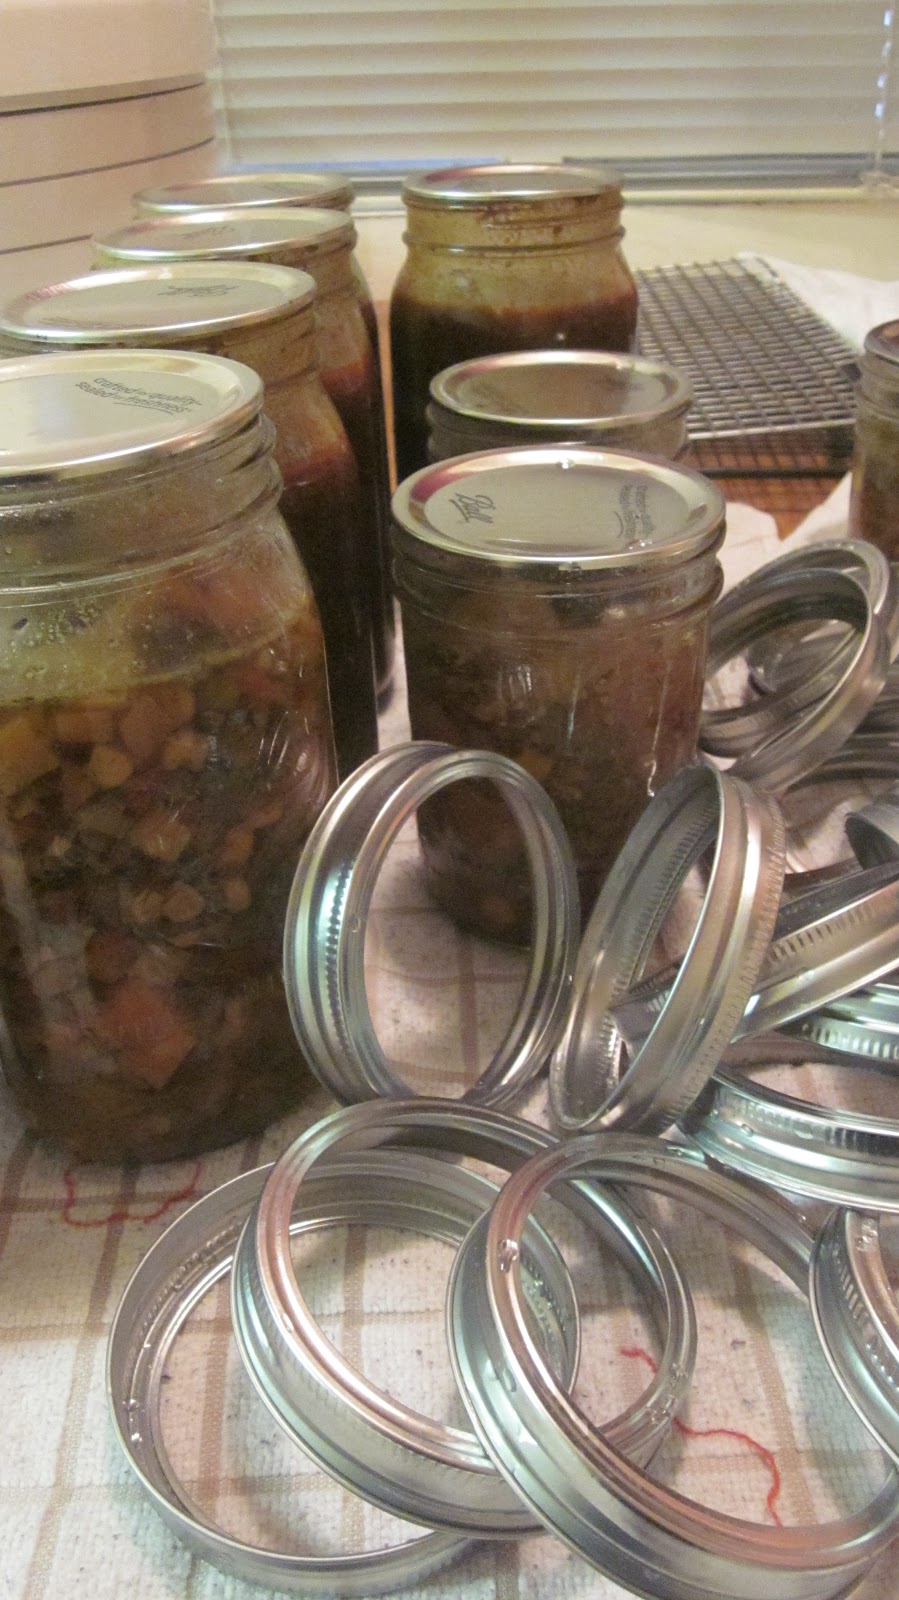
Remove jars and cool in a draft-free area. Do not disturb them! Check lids for seal after 24 hours. Lid should not flex up and down when center is pressed. At this point, remove the rings.

Always My Very Best,
Your Friend Chef Tess

4 comments:
I've been wanting to try my hand at canning meat for a little while now and I really, really appreciate this post, Tess!
I was wondering why a regular pressure cooker cannot be used. I have a Kuhn Rikon 7 quart pressure cooker. It came with a rack for the bottom and it's fairly tall. I have been wanting to try out canning with it, but now having second thoughts because you said it is not recommended. Can you expand on this? Thanks, Latrice.
If it is not specifically made for canning, I wouldn't recommend it. That came directly from the manufacturers of the pressure canners and regular pressure cookers. If you have any question, it is better to talk with the company that makes the cooker.
http://kuhnrikon.com/products/pressure_cookers/pressure.php3?id=14&show_tab=1#tab_loc says your model can be used for canning. Like I say, it depends on the manufacture.
Post a Comment